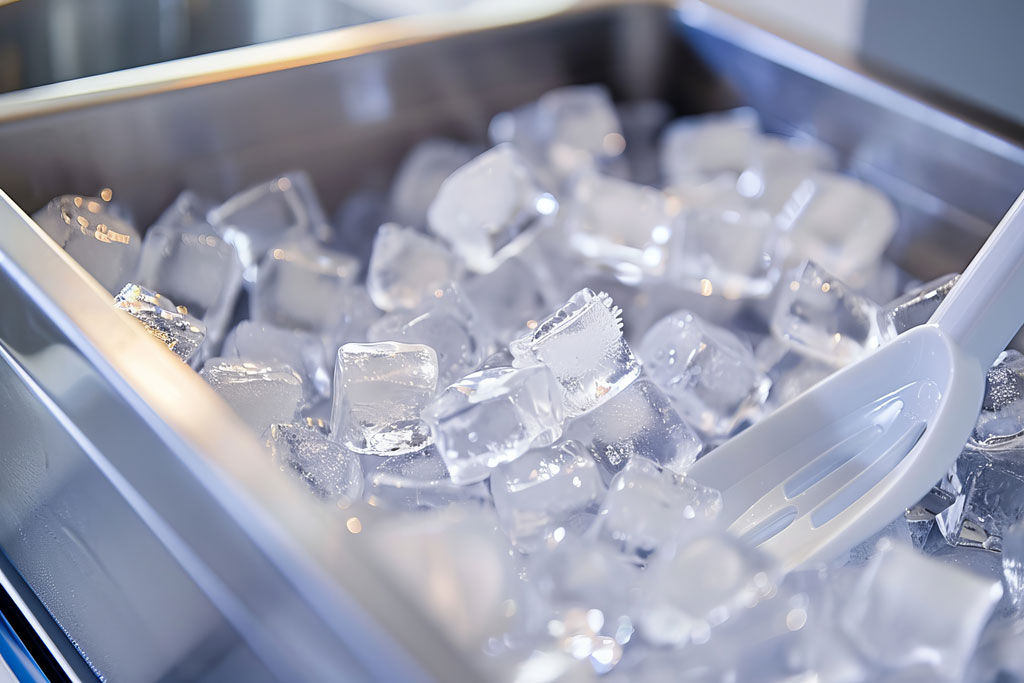
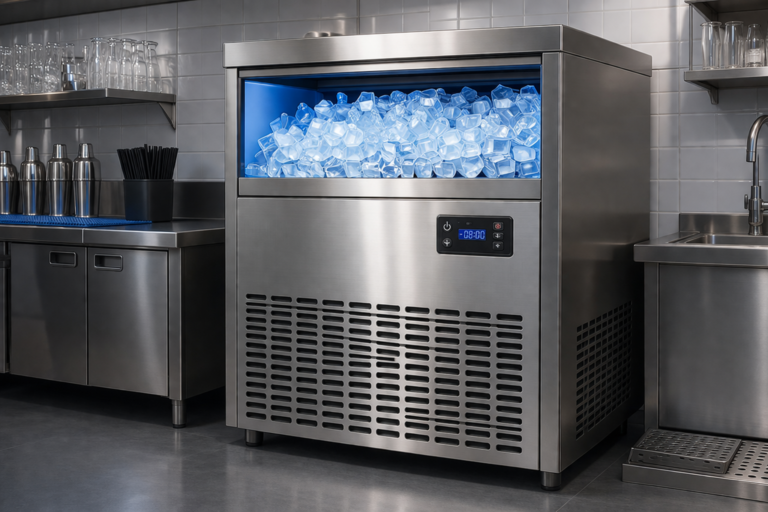
Ice is a food product. Full stop. And yet it’s one of the most overlooked things in commercial kitchen sanitation.
This guide walks you through exactly how to clean and sanitize your ice machine safely, from the quick daily wipe-down to the full deep clean your health inspector actually wants to see.
At American Energy Restaurant Equipment, we work with restaurants, hotels, and bars. One thing we see consistently: ice machines get used constantly and cleaned far less than they should.
This guide is designed to fix that.
Why Ice Machine Cleaning is so important
Here’s something most people don’t think about: ice machines are one of the FDA’s top flagged items during health inspections. The interior of an ice machine (dark, wet, constantly cycling between cold and slightly less cold) is about as welcoming an environment for bacteria and mold as you’re going to find in a commercial kitchen.
The CDC has linked ice machines to outbreaks of norovirus, Listeria, and other foodborne illnesses. Not because operators are negligent, but because ice feels “clean.” It’s frozen. How bad can it get? Pretty bad, as it turns out.
Biofilm is a thin, slimy layer of bacteria that builds up on internal components over time and doesn’t come off with a rinse cycle. You need an actual ice maker cleaning process to address it.
Important: Ice is classified as a food by the FDA. That means your ice machine falls under the same sanitation standards as your prep surfaces, your dishware, and your cooking equipment. Clean it accordingly.
How Often Should You Clean a Commercial Ice Maker?
The short answer: more often than most operators do it. Here’s a practical schedule based on FDA guidelines and manufacturer recommendations for commercial ice machine maintenance:
Daily: Wipe exterior surfaces; inspect ice bin for debris or odors; check ice scoop storage. (Staff)
Weekly: Clean and sanitize ice bin interior; inspect drain lines; check air filters. (Staff / Lead)
Every 6 Months: Full internal cleaning and sanitizing cycle; descaling water system; inspect evaporator plates and water distribution. (Certified Technician)
Annually: Deep inspection of all mechanical components; refrigerant check; full preventive maintenance. (Certified Technician)
High-traffic operations like busy bars, hospital cafeterias, and hotel lobbies often need the internal cleaning cycle done quarterly rather than every six months. If you notice your ice clumping, smelling off, or looking cloudy, don’t wait for the next scheduled cleaning. Do it now.
What You Need Before You Start
Before you start the ice machine cleaning process, gather everything. You don’t want to be hunting for your sanitizer bottle with wet gloves on.
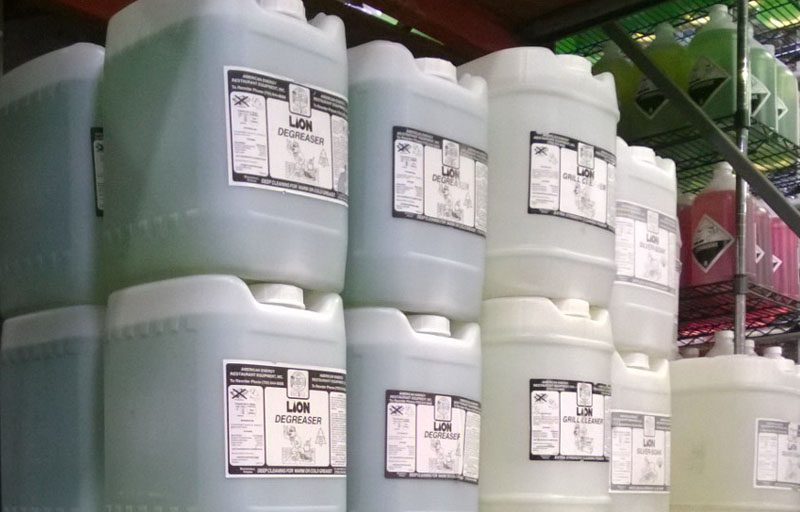
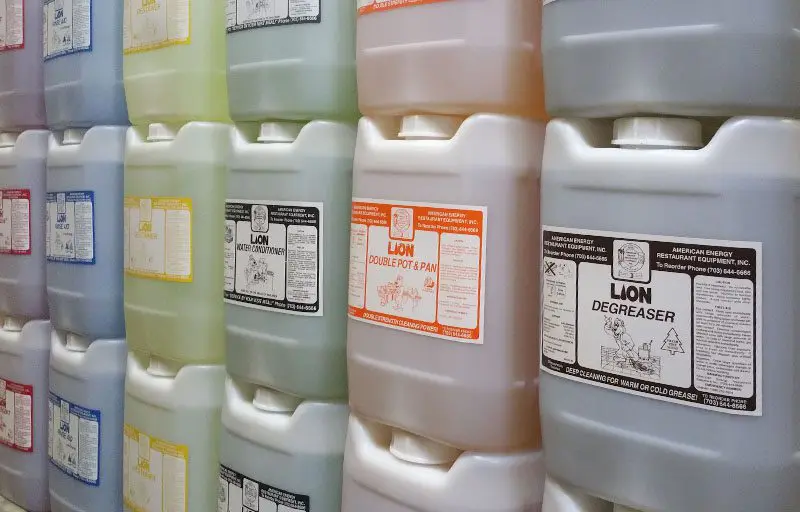
- NSF-certified ice machine cleaner (nickel-safe, food-grade formula)
- NSF-certified ice machine sanitizer
- Clean cloths or food-safe sponges, dedicated to this task only
- Soft-bristle brush (for interior surfaces)
- Food-grade gloves
- A clean bucket
- Your machine’s owner manual (yes, actually look at it)
- Access to your ice machine’s drain
Safety First: Never mix cleaning chemicals. Ice machine cleaners (typically acidic, for scale removal) and sanitizers (typically alkaline) react when combined. Use them separately and rinse thoroughly between applications.
One note on products: always use cleaners and sanitizers that are explicitly rated for ice machines and labeled as NSF/ANSI 2 certified. Generic kitchen cleaners can leave residues that contaminate ice, damage internal components, or void your machine’s warranty.
Step-by-Step: How to Clean an Ice Maker Machine Safely
This procedure covers a standard under-counter or modular commercial ice maker cleaning. If you have a different machine type (flaker, nugget, or large-scale cube machine), the same principles apply, but always cross-reference your model’s manual for any manufacturer-specific steps.
Step 1: Turn Off the Machine and Remove All Ice
Switch the machine to the “wash” or “off” position, not just a temperature adjustment. Let the ice dispense naturally or remove it manually and discard it. Don’t use this ice. Once you’ve started the cleaning process, anything in the bin is no longer considered clean.
Wait for the evaporator to stop cycling completely before reaching inside. Give the machine a few minutes to settle.
Step 2: Remove and Clean the Ice Bin
Take out the ice bin (if removable) and bring it to your three-compartment sink. Wash it with warm water and dish soap, rinse thoroughly, and set it aside. You’ll sanitize it separately after cleaning the machine interior.
If the bin isn’t removable, wipe it down thoroughly with your cleaning solution and a food-safe cloth, making sure to get into corners and under any ledges. Biofilm loves corners.
Step 3: Mix Your Cleaning Solution
Follow the dilution ratio on your cleaner exactly. More isn’t better here. Too concentrated a solution can damage nickel-coated evaporator plates and leave a chemical residue that affects ice taste. For most NSF-certified ice machine cleaners, you’re looking at roughly 1–2 oz per gallon of water, but check your label.
Step 4: Activate the Machine’s Cleaning Cycle (If Applicable)
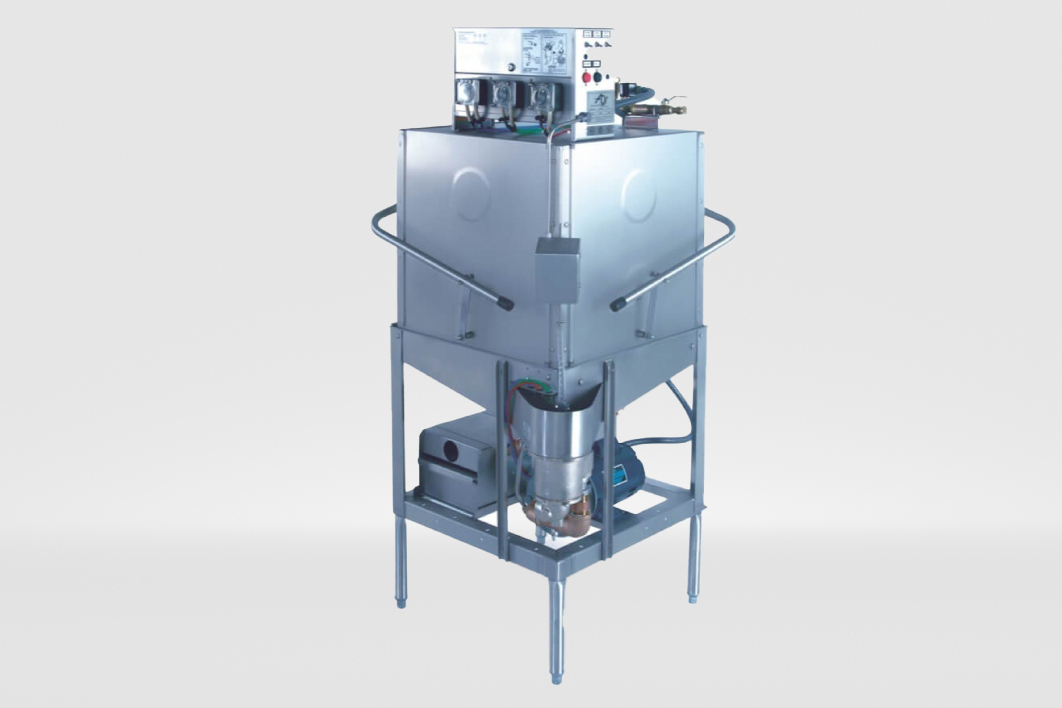
Most modern commercial ice machines have a built-in cleaning cycle. On Hoshizaki machines, for example, you press and hold the “clean” button until the indicator light comes on. The machine will circulate the cleaning solution through the water system, over the evaporator, and out through the drain automatically.
This typically runs 20–30 minutes. Don’t interrupt it mid-cycle. If your machine doesn’t have a cleaning cycle, you’ll circulate the solution manually using the procedures in your owner’s manual.
Step 5: Clean Interior Surfaces Manually
While the cleaning cycle handles the water circuit, use your soft-bristle brush and cleaning solution to scrub the interior walls, the ice deflector plate, the water curtain (on cube machines), and any visible surfaces you can safely reach. Don’t force access to sealed components.
Pay attention to the evaporator area, since that’s where scale and slime accumulate most. If you see a hard white or yellowish mineral buildup, that’s calcium scale and the cleaning cycle plus your brush work should address it. Pinkish or brownish slime is biological (more on that below).
Step 6: Flush with Fresh Water
Once the cleaning cycle completes, run a full rinse cycle with clean water. This removes all cleaning solution residue from the water circuit. Some machines run this automatically as part of their cleaning mode. Others require you to trigger a manual ice-making cycle and discard the first batch of ice produced.
Don’t skip the rinse. Cleaner residue in ice is a health violation and will make your drinks taste like chemicals. Neither outcome is great for your operation.
Step 7: Clean the Air Filter and Condenser Coils
While you have the machine open and off, check the air filter. Most commercial ice machines have a removable filter on the front or side. Rinse it under warm water, let it dry, and reinstall it. A clogged filter makes your machine work harder, produces less ice, and shortens the compressor’s life.
If you can safely access the condenser coils, brush them gently with a soft brush or vacuum away dust. A dirty condenser is one of the top causes of ice production problems and early machine failure.
How to Sanitize After Cleaning
Cleaning removes soil and scale. Sanitizing kills pathogens. You need both, in that order.
Step 8: Prepare and Apply Sanitizer
Mix your NSF-certified ice machine sanitizer per the label instructions. Apply it to all interior surfaces (bin walls, ice deflector, curtain, interior panels) using a clean cloth or by running it through the machine’s cleaning cycle port if your model supports it.
Most food-grade ice machine sanitizers don’t require rinsing, but check your product label. The sanitizer needs to remain on surfaces for the full contact time specified (usually 1–2 minutes minimum).
Step 9: Sanitize the Ice Bin and All Removable Parts
Submerge removable parts in your sanitizer solution or wipe them down thoroughly. Let them air dry; wiping them dry can recontaminate surfaces. Reinstall once completely dry.
Step 10: Run the First Ice Batch and Discard It
Turn the machine back on and let it produce its first batch of ice. Discard this batch. Some operators skip this step. Don’t be one of them. Even with a no-rinse sanitizer, the first batch is your quality control cycle. It verifies the machine is running correctly and clears out anything you may have missed.
Pro Tip: Write the cleaning date on a piece of tape and stick it inside the bin lid. It takes 10 seconds and gives your health inspector something to nod at. It also helps you track whether cleanings are actually happening on schedule.
Dealing with Mold and Slime Buildup
Pink or orange slime inside an ice machine is almost always Serratia marcescens, a bacteria that thrives in moist environments. Black or dark green spots are typically mold. Both require immediate attention, not just the next scheduled cleaning.
For mild slime buildup, the standard cleaning procedure above should handle it if you’re thorough with your brush work. For heavy buildup or mold that keeps coming back, a few things worth checking:
- Is the machine getting enough airflow? Poor ventilation keeps humidity high inside the unit.
- Is the bin draining completely after each cycle? Standing water is a breeding ground.
- Is your water supply contributing? Hard water with high mineral content creates more scale, which creates more surface area for biofilm.
- When was the last time the water filter was replaced? Most manufacturers recommend every 6 months.
If ice machine mold removal keeps being a recurring issue despite regular cleaning, the machine may need a more thorough internal inspection by a technician. There could be a drain issue, a seal failure, or a design problem with airflow that no amount of cleaning will permanently solve.
Health Code Note: If you discover significant mold growth, take the machine offline until it’s cleaned and sanitized. Serving ice from a contaminated machine, even briefly, is a health code violation and a genuine risk to your customers.
Ongoing Maintenance Tips
The gap between “we clean it when it looks dirty” and “we have a real maintenance routine” is where most problems live. A few habits that make a real difference:
- Store ice scoops outside the bin, in a clean holder and never resting inside the ice
- Never use your hands or a cup to scoop ice
- Replace water filters on schedule (every 6 months is standard for most machines)
- Check and clean the air filter monthly in dusty or high-grease environments
- Keep the area around the machine clean and dry; don’t store cleaning solutions on top of or directly beside it
- Log every cleaning, filter change, and service visit in a simple maintenance log
If your machine is in a hot kitchen or in a tight space, it’s working harder than the manufacturer’s spec accounts for. Machines in challenging environments need more frequent cleaning and filter changes, sometimes significantly more.
You can also review your broader commercial kitchen cleaning checklist to make sure ice machine care integrates with your full sanitation routine.
Signs Your Ice Machine Needs Professional Service
There’s a difference between ice maker maintenance that your staff can handle and problems that need a certified technician. Call for service if you’re seeing any of these:
- Ice production is noticeably slower than usual
- Ice is smaller, thinner, or misshapen compared to normal
- The machine cycles on and off repeatedly without producing ice
- Unusual noises: grinding, clicking, or loud humming
- Water leaking from the base or from the drain line
- Ice has a persistent off-taste or odor even after cleaning
- The machine trips a breaker or displays an error code
These aren’t things you want to ignore. A machine struggling to produce ice during a lunch rush is a serious operational problem. And a refrigerant leak or compressor issue caught early is a fraction of the cost of a full replacement.
One of the real advantages of a commercial ice machine lease, particularly through a full-service provider, is that this call is already made for you. You’re not hunting for a technician, waiting on parts, or guessing whether it’s worth repairing. The service guarantee covers it.
Should You Lease Your Ice Machine Instead?
This isn’t a sales pitch. It’s a real question worth thinking through. The case for leasing a commercial ice machine comes down to a few practical things.
When you own a machine, you own all of its problems. The deep cleaning, the filter replacements, the service calls, the parts: all on you. When you lease through a company that provides a full-service maintenance program, a significant portion of that burden transfers.
At American Energy Restaurant Equipment, our ice machine leasing program includes delivery, installation, and ongoing service by our in-house Hoshizaki-certified technicians. Every technician carries every part on every truck. That means no waiting days for a part to arrive. Your machine gets fixed at the first visit, or we supply fresh ice while it’s being serviced.
We’ve been doing this since 1979. We lease exclusively Hoshizaki machines because we’ve seen what holds up in real commercial environments over decades. Our technicians service only Hoshizaki equipment, which means they know these machines at a level a general repair shop doesn’t.
If you’re running a busy restaurant, a hotel, a bar, or any operation where ice downtime is a genuine problem, it’s worth at least having the conversation about what a lease program would cost versus what you’re currently spending on ownership, maintenance, and emergency repairs.
Frequently Asked Questions (FAQ)
Can I use bleach to clean my ice machine?
No. Bleach is corrosive to most ice machine components and will damage the evaporator plates and metal surfaces. It also leaves residues that contaminate ice. Use only NSF-certified ice machine cleaners and sanitizers.
How long does the cleaning process take?
A full internal cleaning cycle on a commercial machine takes 45–90 minutes from start to first safe ice production. Plan for it. Don’t start during your lunch rush.
Do I need to turn off the water supply during cleaning?
Not always, but check your machine’s specific procedure. Some models require you to shut off the water inlet during the cleaning cycle. Your owner’s manual will specify.
How do I know if my ice machine has a built-in cleaning mode?
Check the control panel for a button labeled “Clean,” “Wash,” or “Service.” On Hoshizaki machines, you hold the clean button for several seconds until a light activates. If you’re not sure, check the manual or call your service provider. It’s a basic question and worth asking.
What’s the difference between descaling and sanitizing?
Descaling (or “cleaning”) removes mineral deposits and scale using an acidic solution. Sanitizing kills bacteria and pathogens using an alkaline solution. Both steps are necessary; they address different problems and should never be combined in the same application.
Take Control of Your Ice Machine’s Sanitation
If your ice machine is producing cloudy ice, running slower than usual, or keeps developing slime despite regular cleaning, the problem may not be procedural.
We help you evaluate your current ice machine setup. We review service history, production capacity, and sanitation performance.
Whether you’re upgrading, replacing, or exploring ice machine leasing options, we guide you through the process with solutions built for long-term performance and food safety compliance.
Contact us today. Let’s review your operation, assess your equipment, and make sure your ice machine is never the reason a health inspection goes sideways.